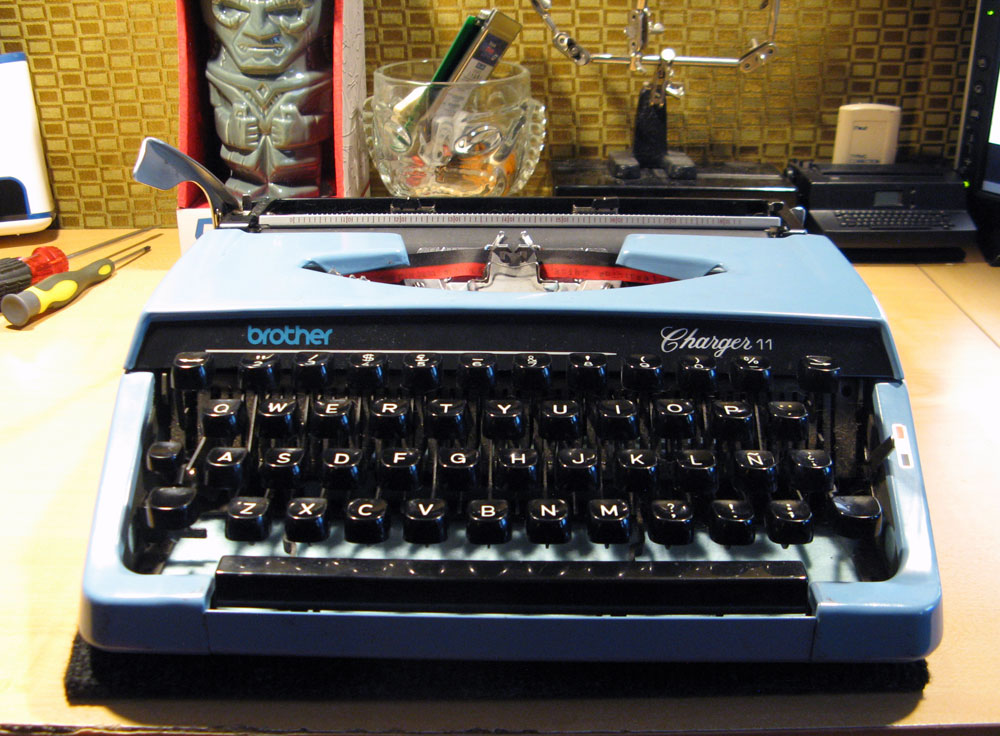
Weapon of Choice: 1978 Brother Charger 11 #K83712885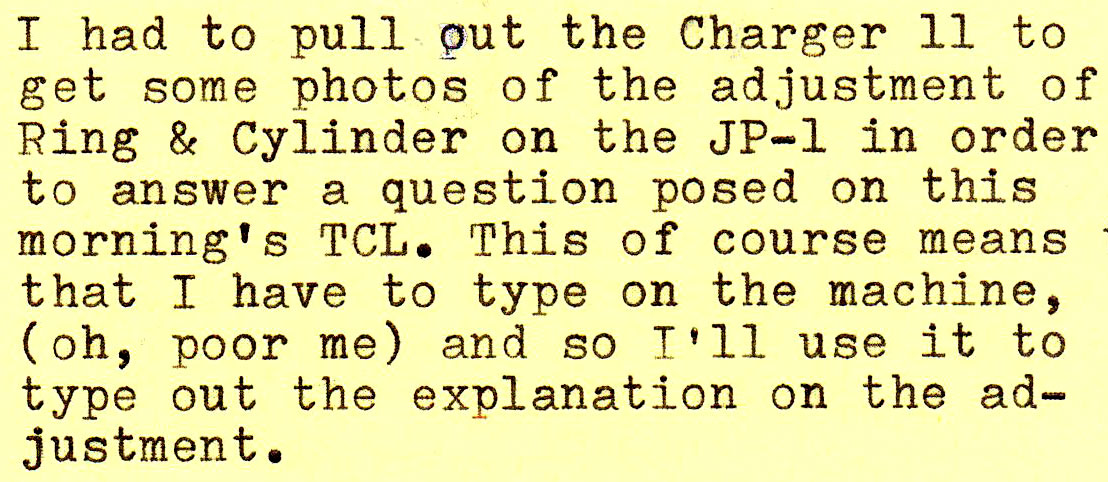
Typewriter Club LIVE: 2022-01-23
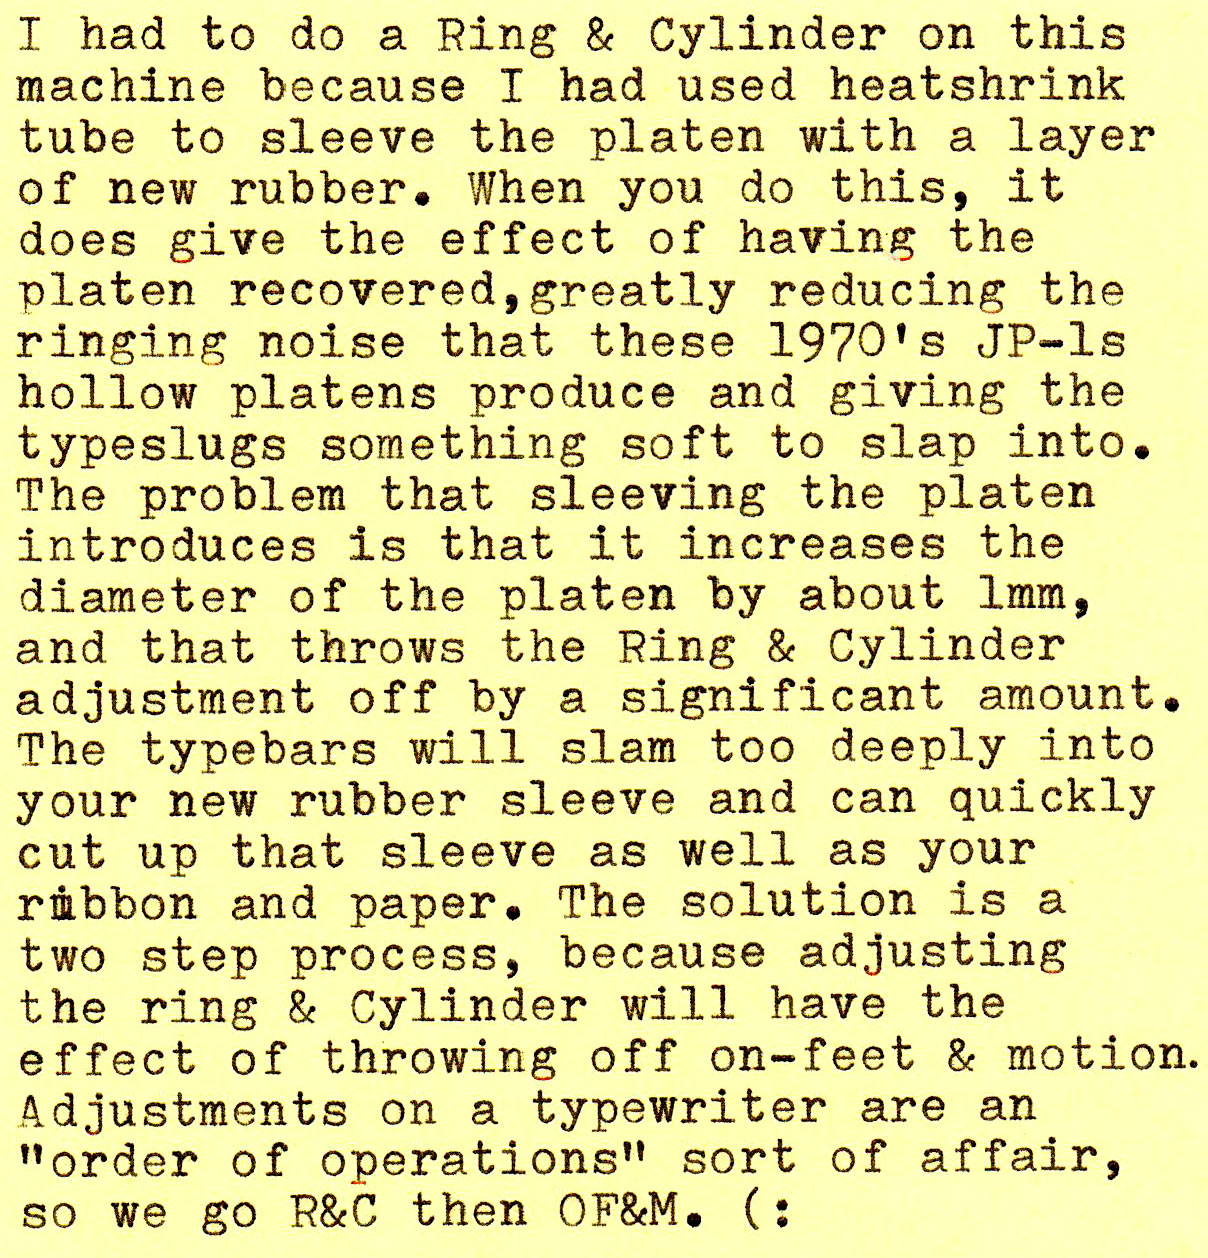
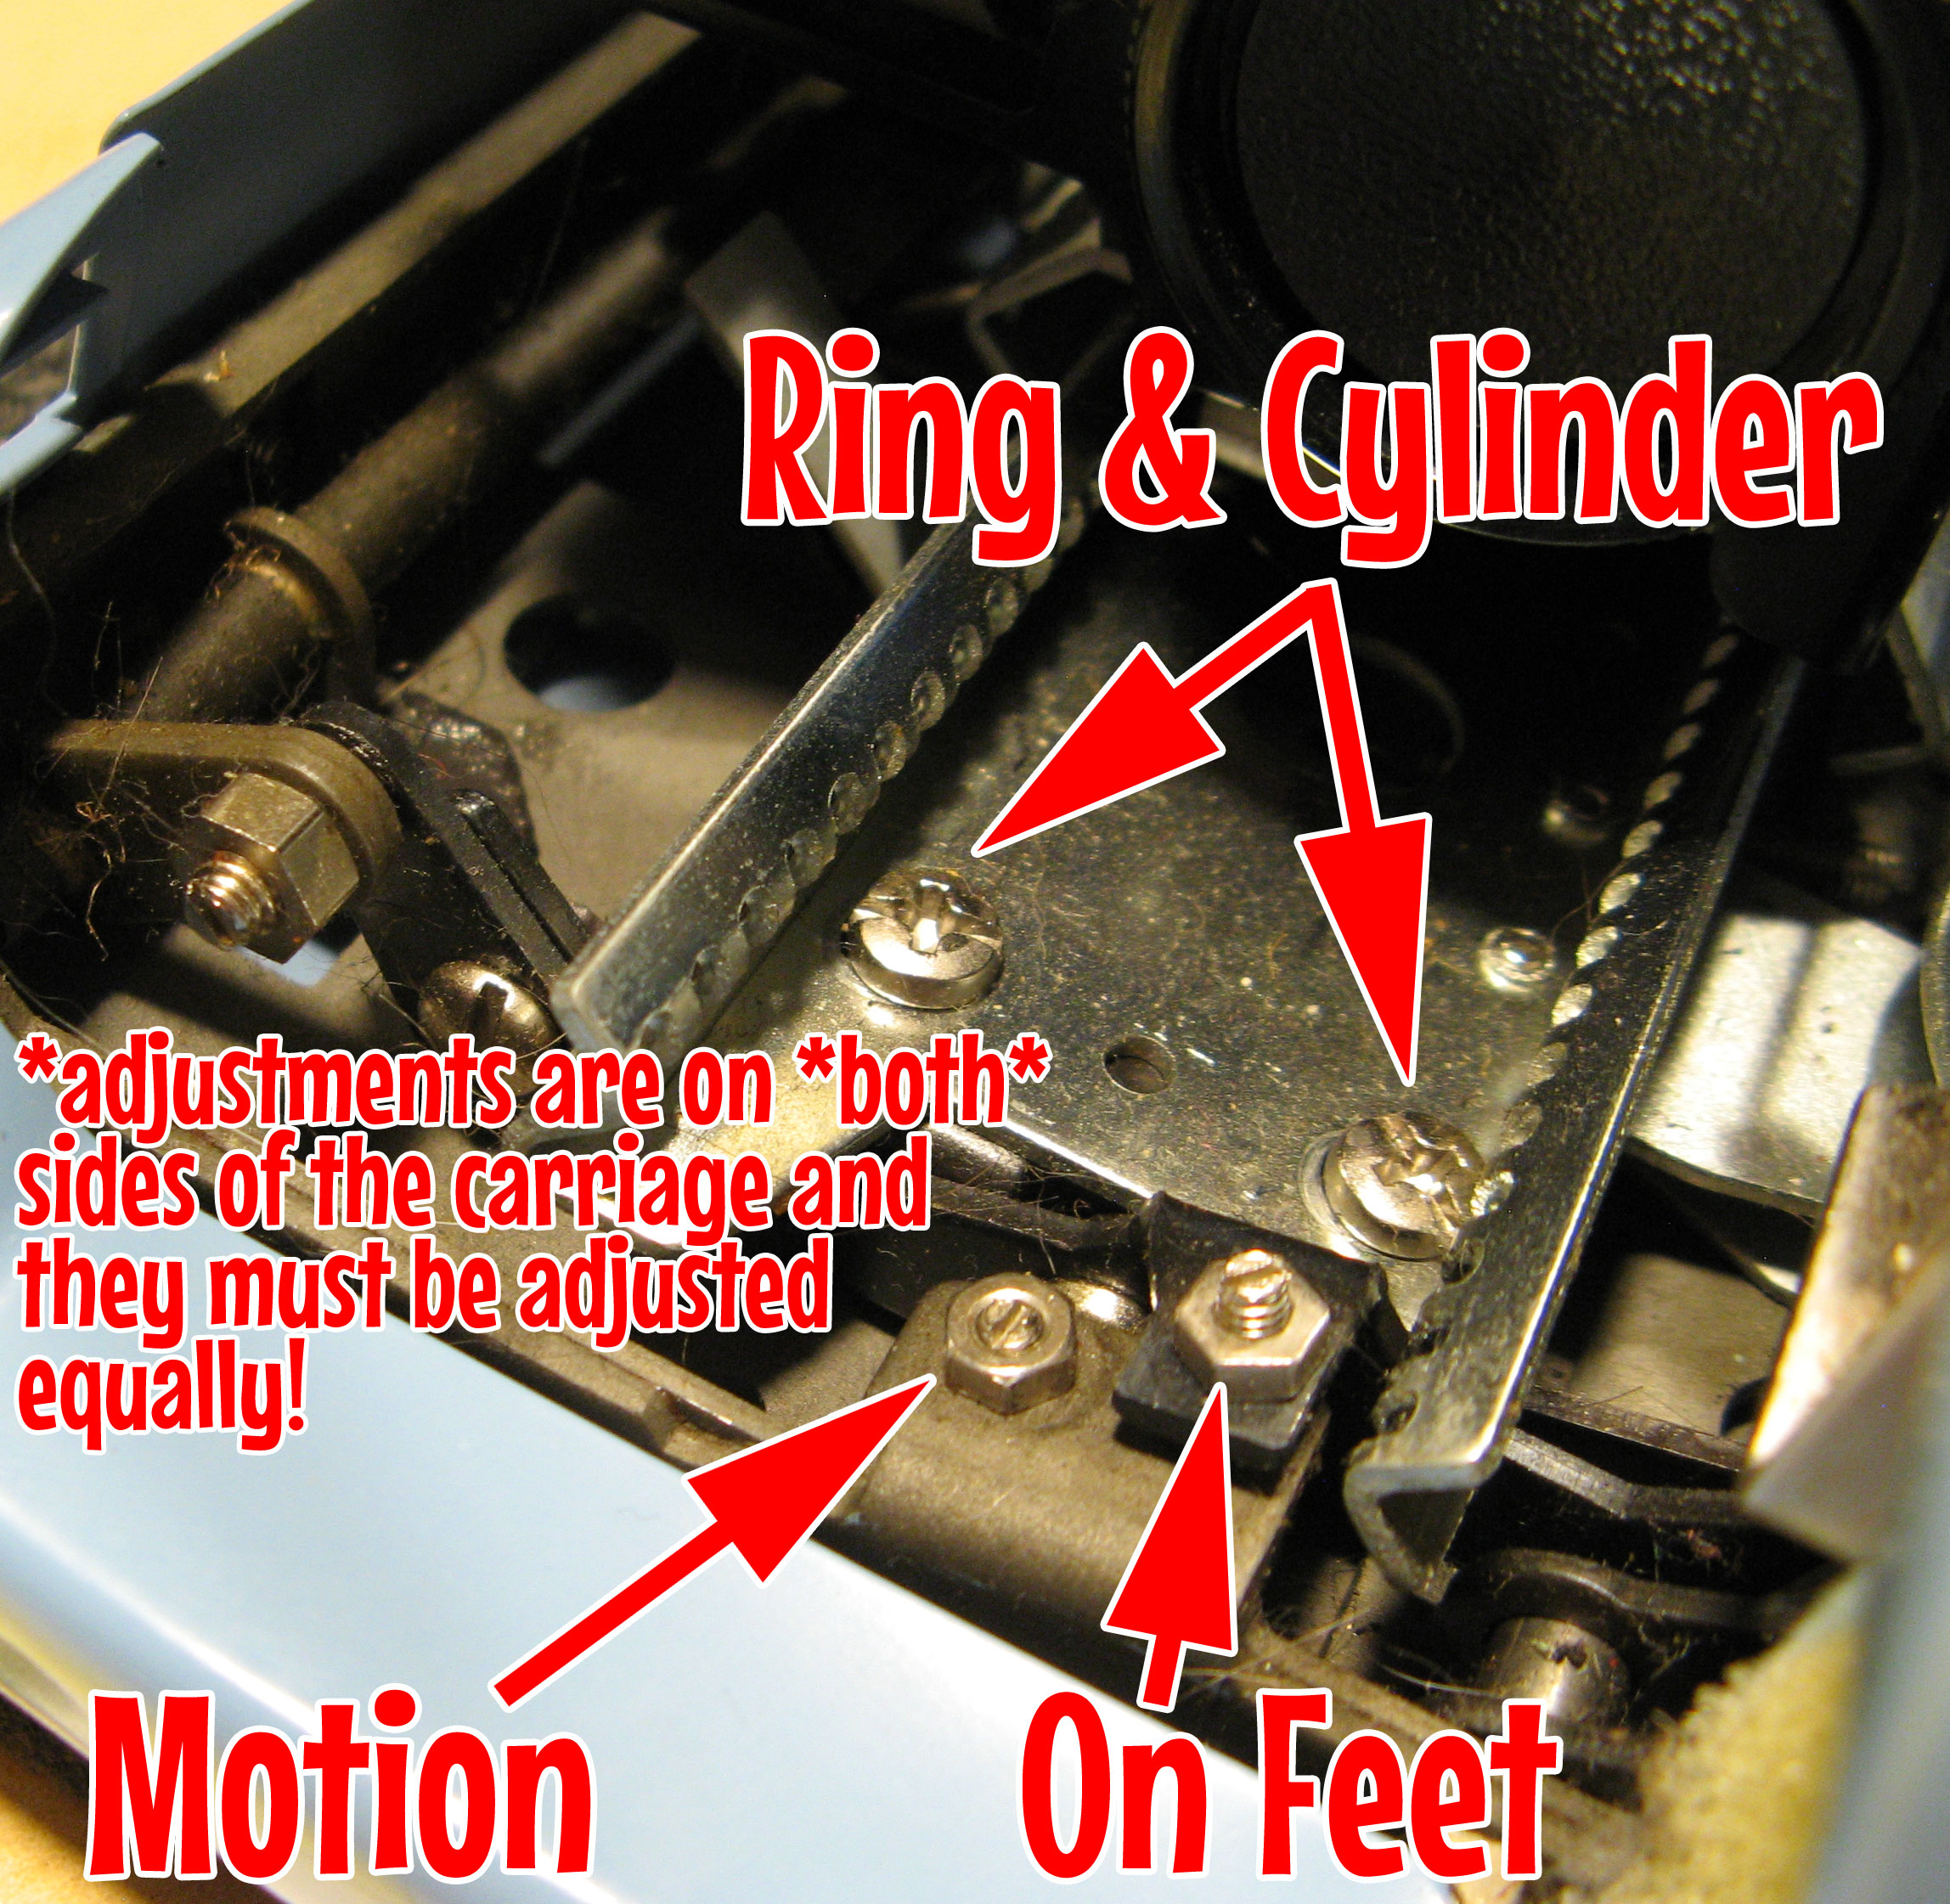
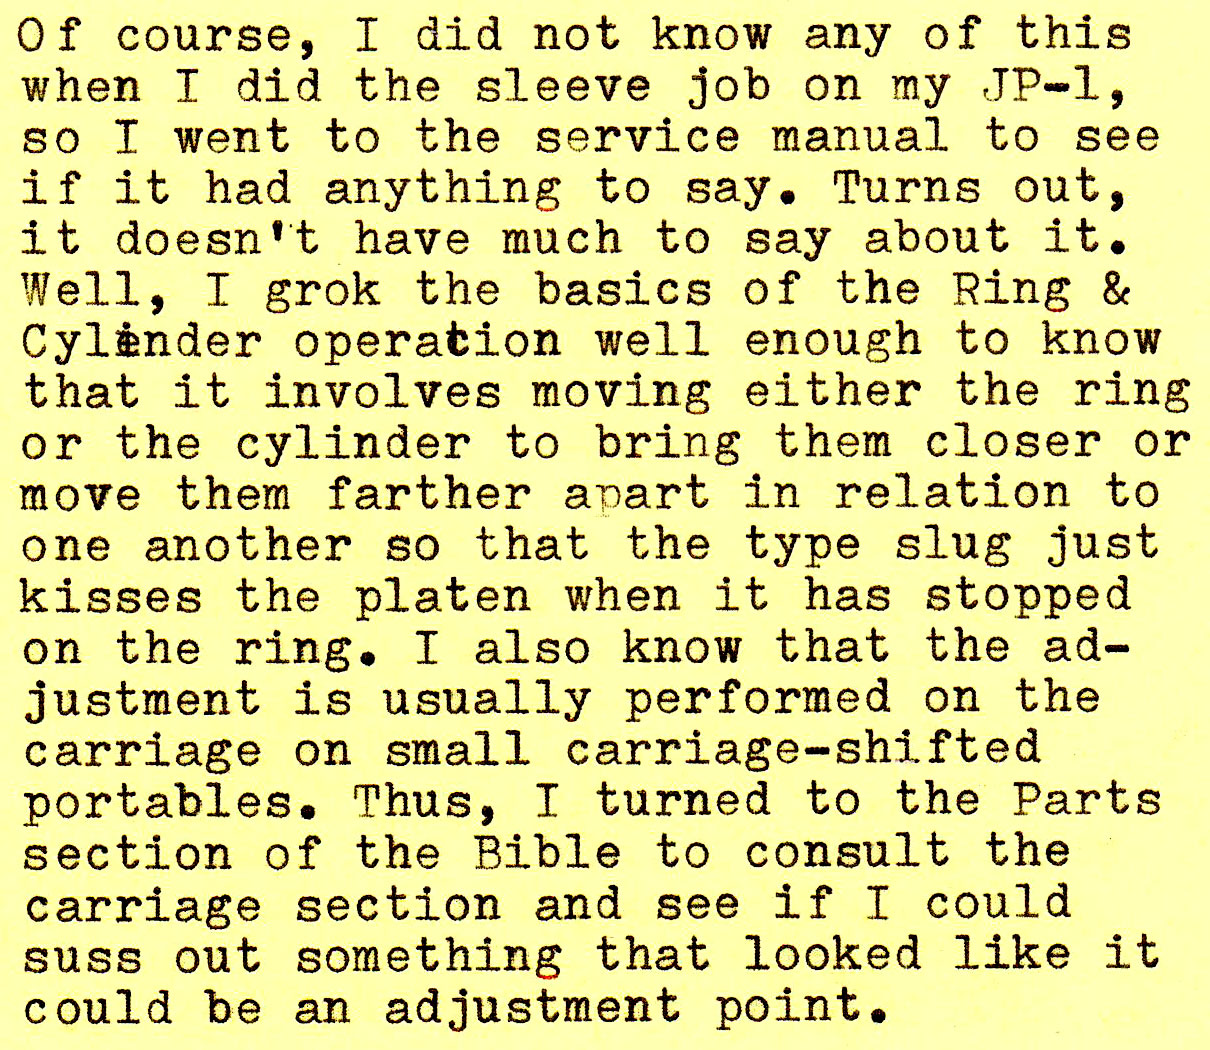
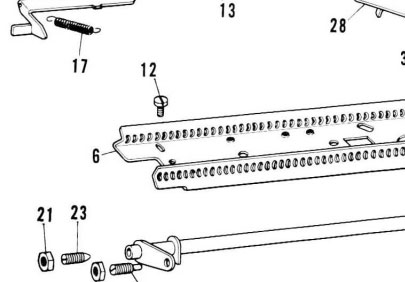
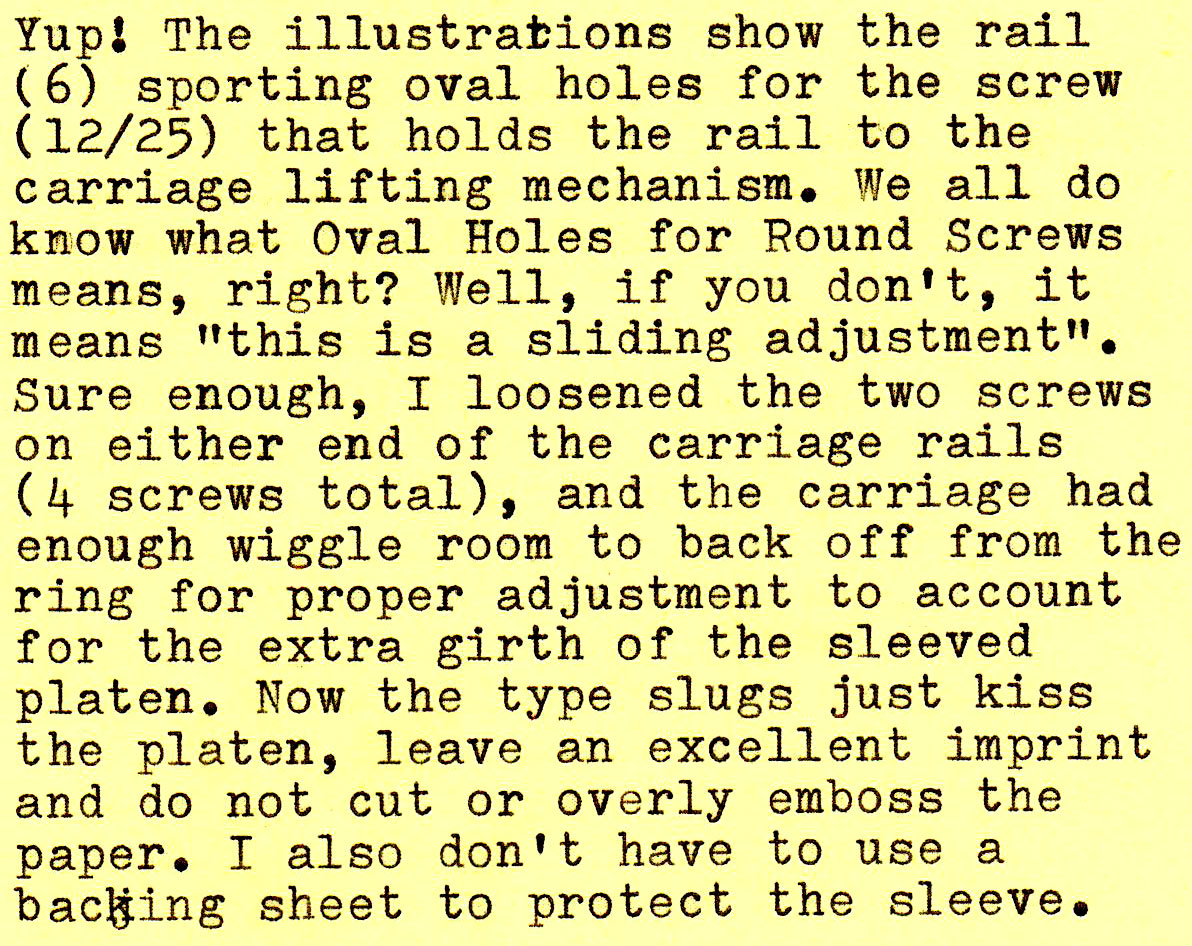
Time to make some notes in your JP-1 Repair Bible. You make notes in your Bible, right?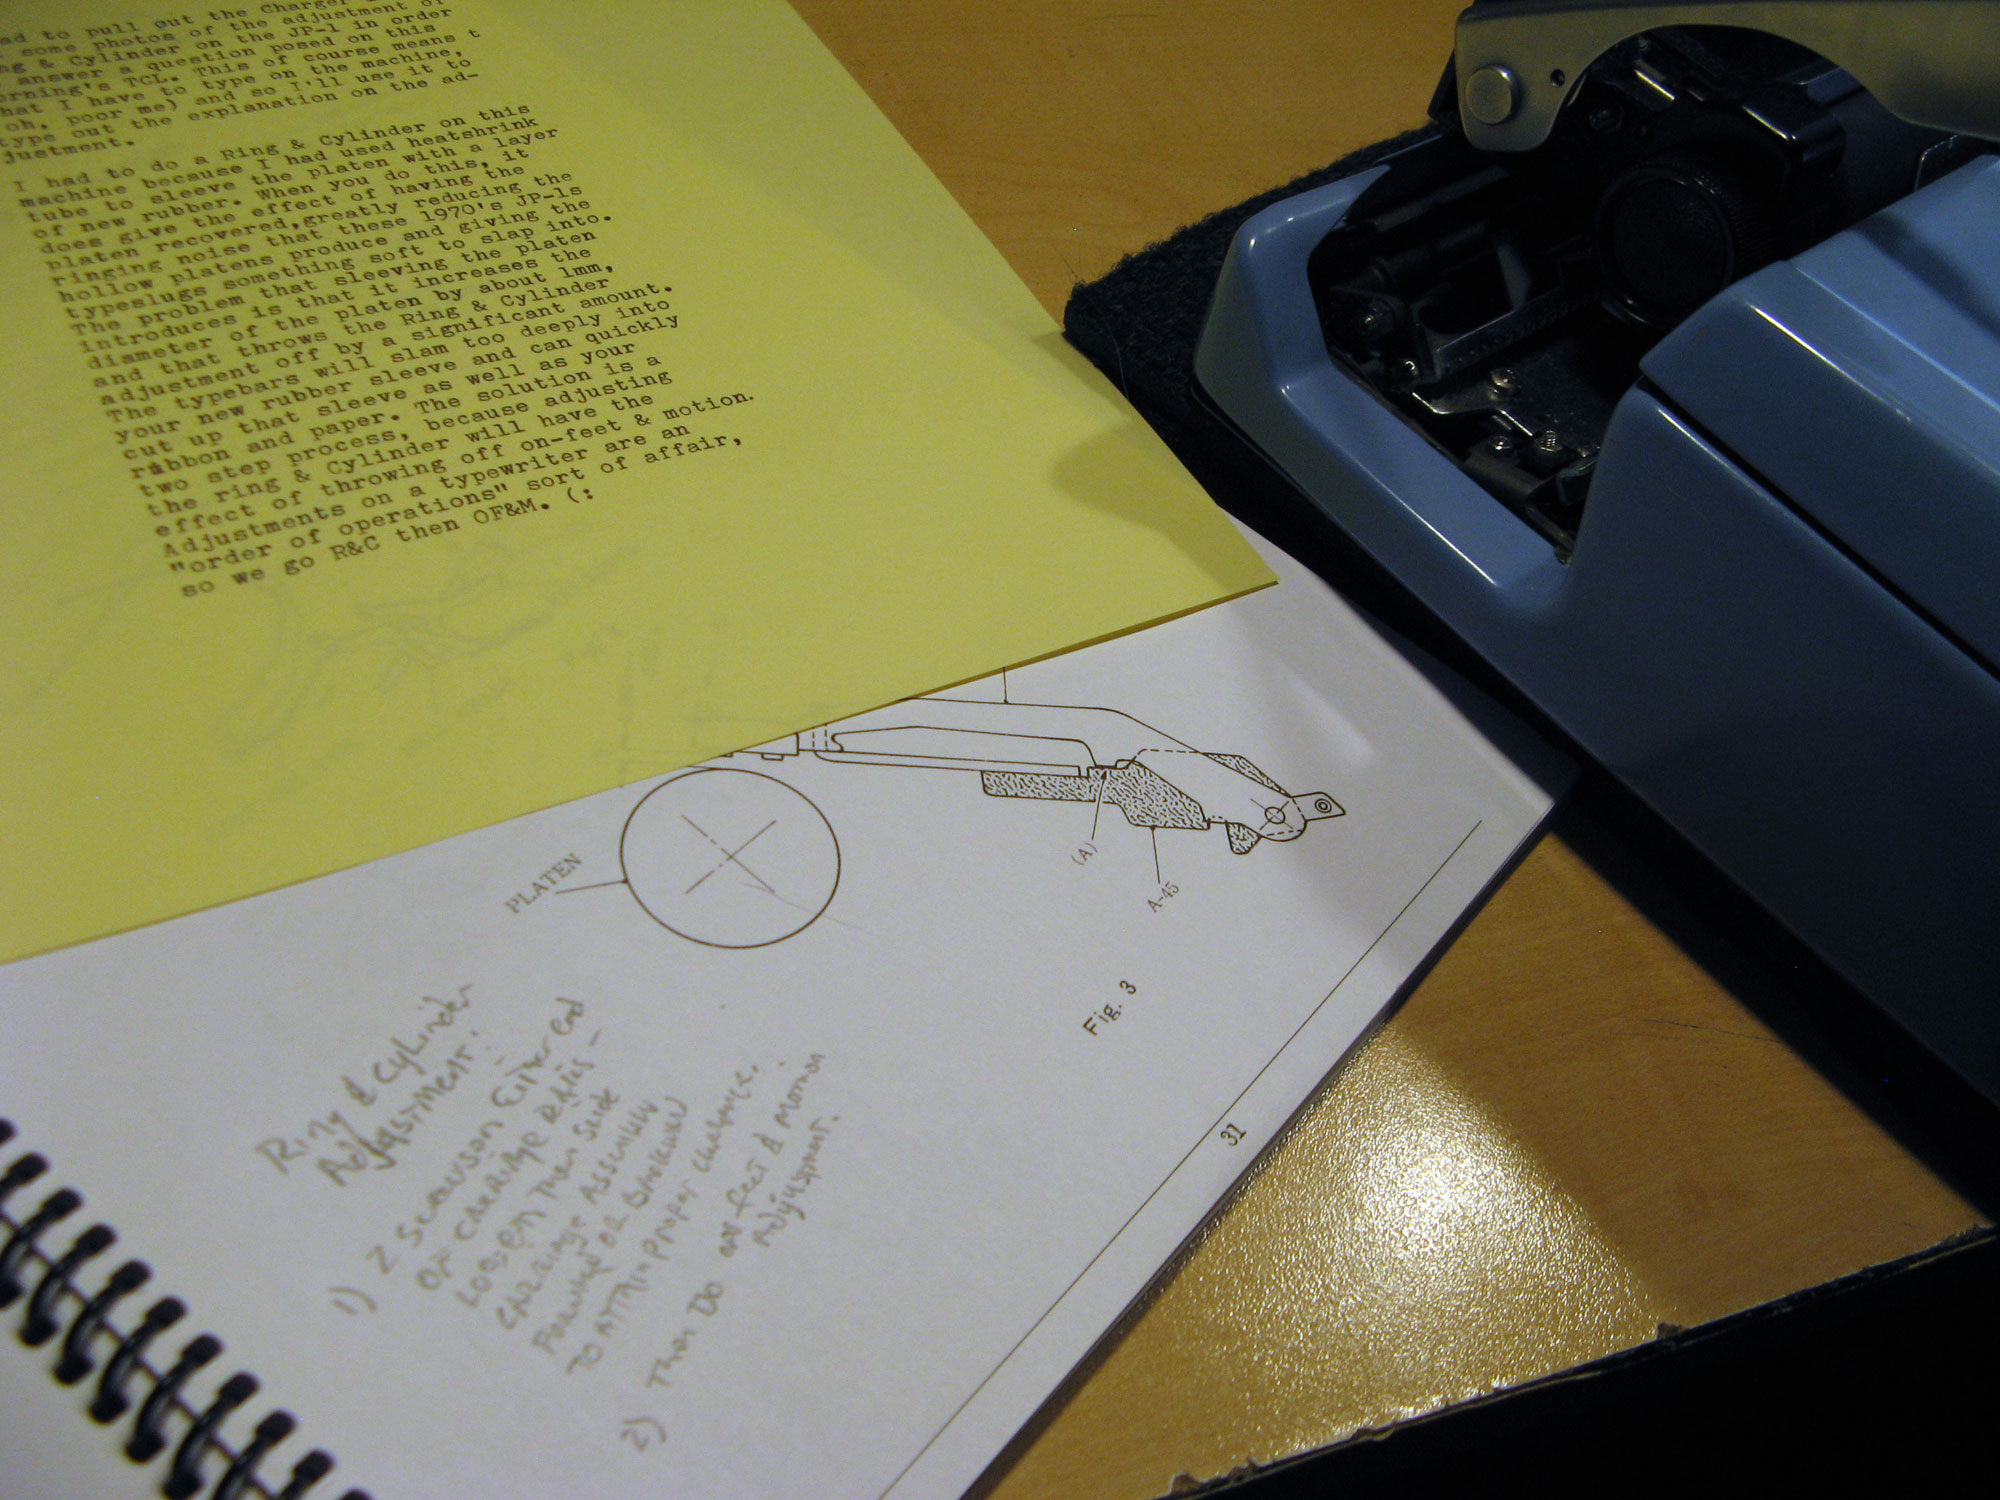
The following pages are from the Silver-Seiko 700 Series Repair Bible, and they have a clearer explanation of the process of Ring & Cylinder/Platen Parallel and On-Feet & Motion adjustments. Note that the SS700 has a different adjustment from the JP-1 for R&C, but the adjustment process is the same, except for the part at the end about adjusting the linespacing detent. You won’t need to do that on a JP-1 because the R&C adjustment moves the whole carriage, not the cylinder assembly itself.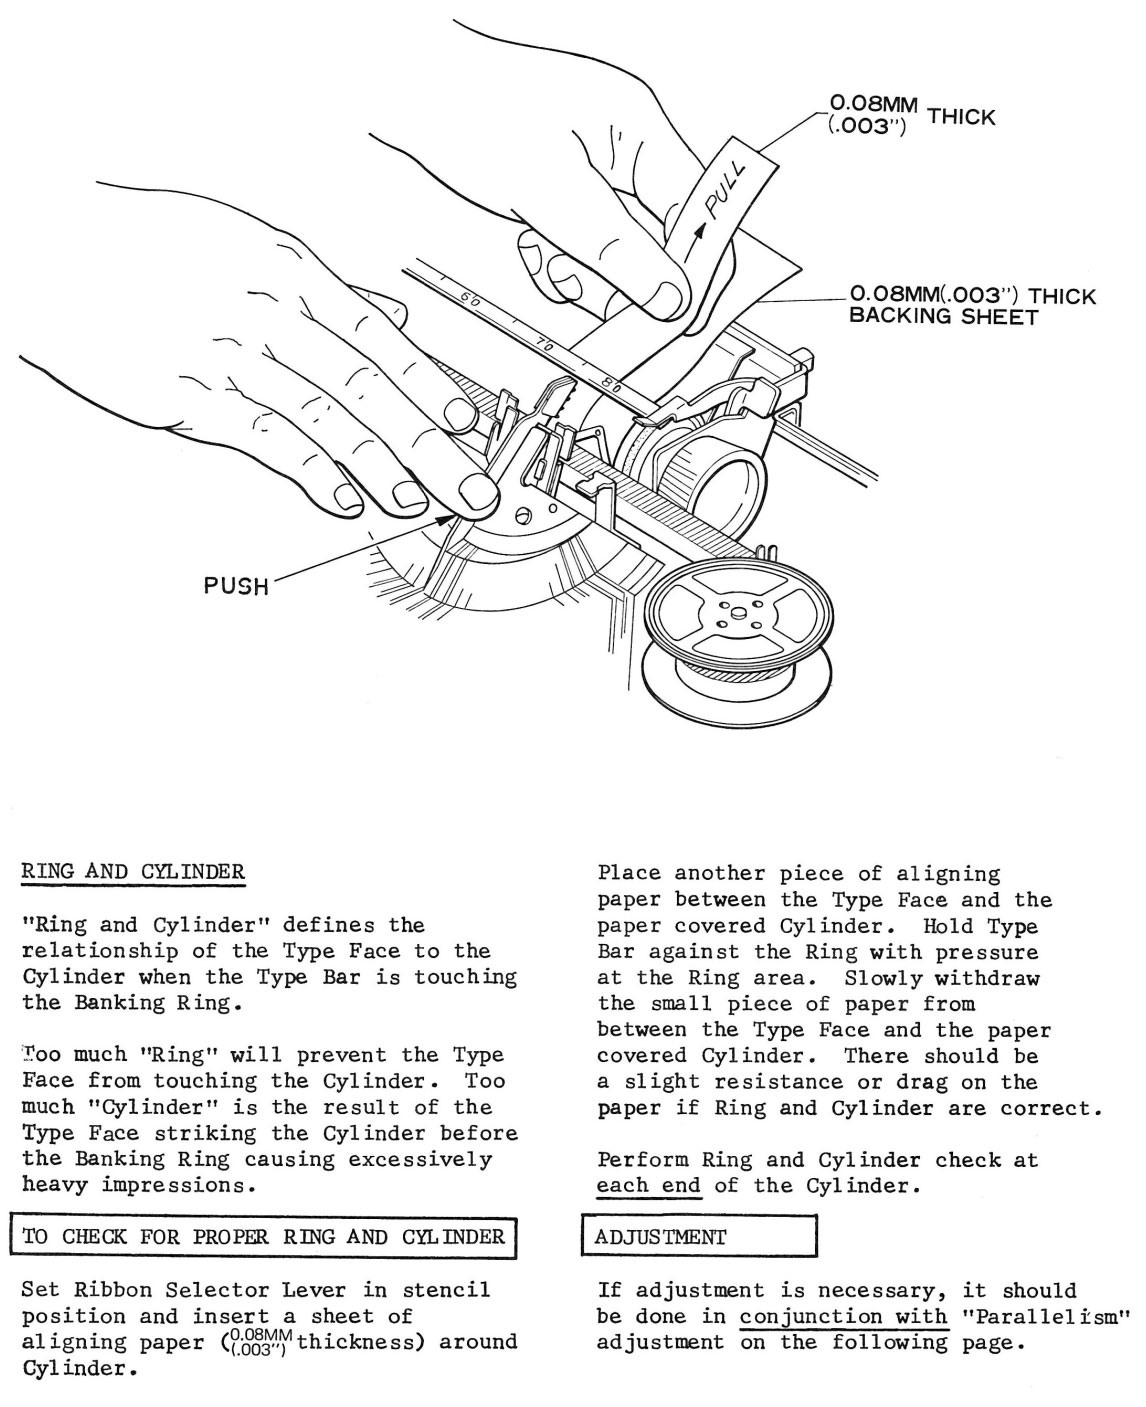
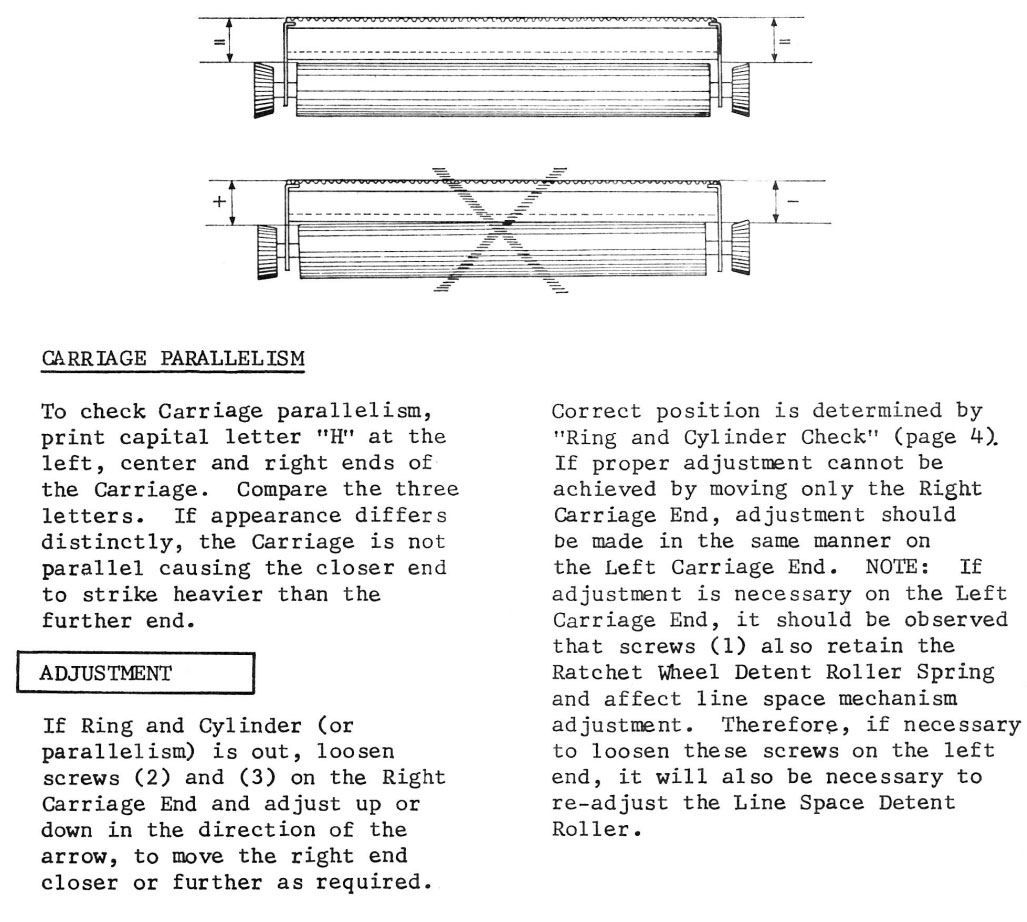
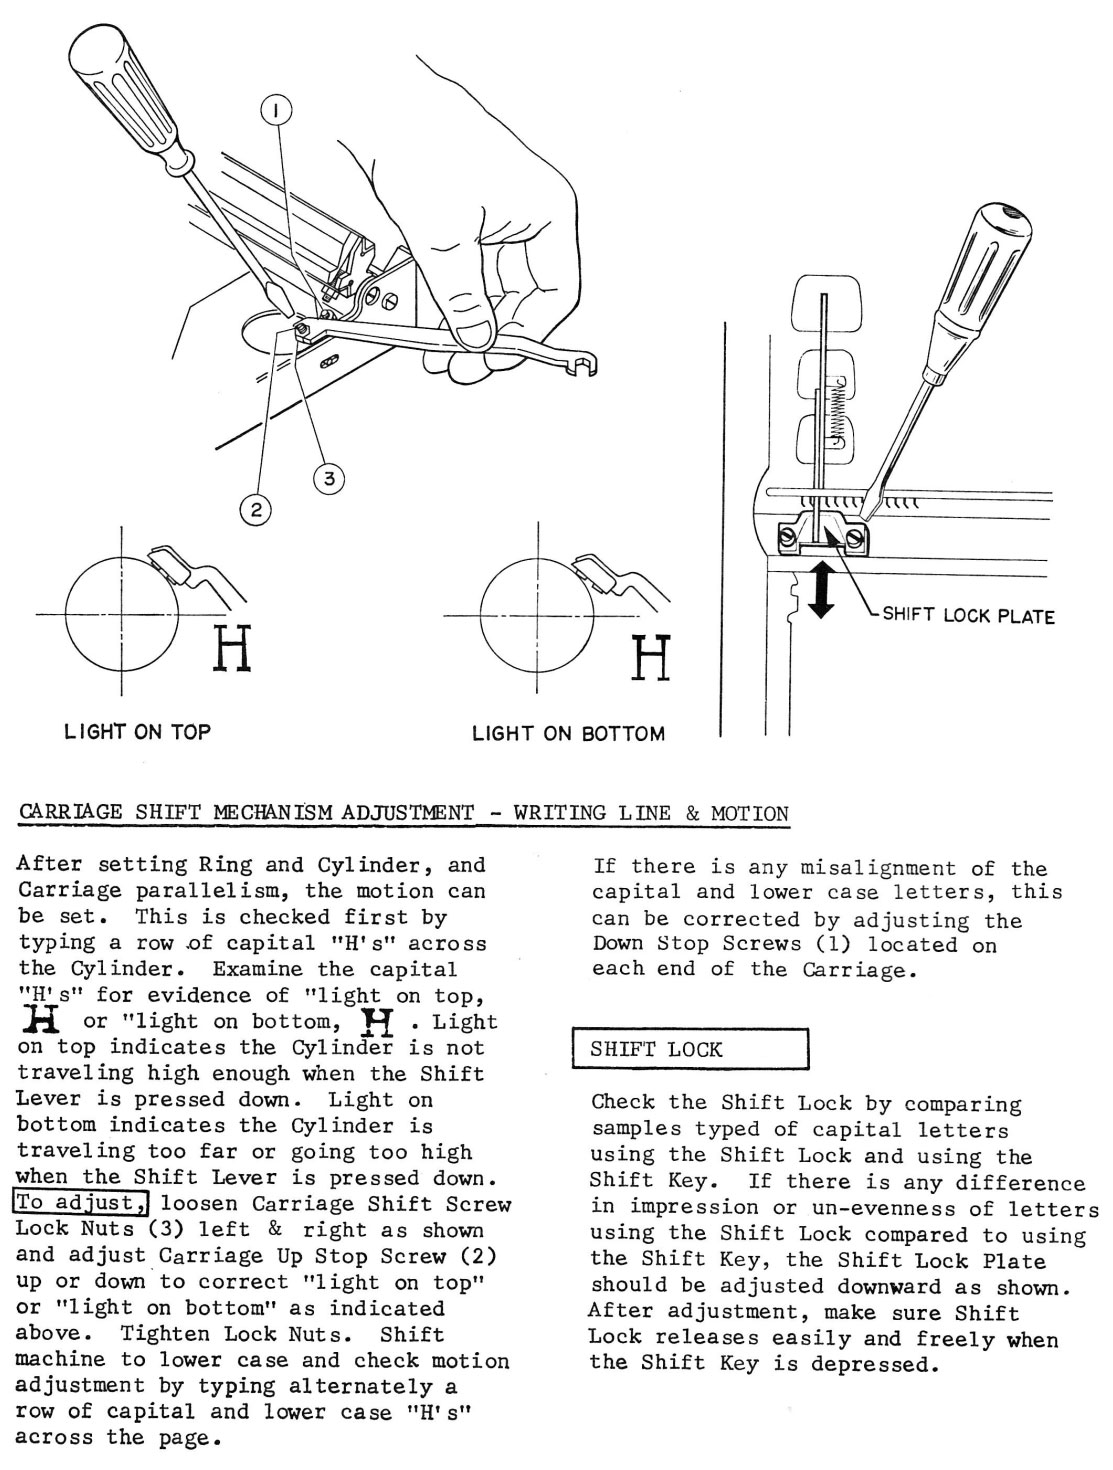
If you have a Silver-Seiko 700 (Royal Mercury/Mustang/Sprite/Swinger, etc and a couple dozen other badgings) then I really recommend getting a copy of its Repair Bible, just to read through for the very clear explanations of the various adjustments. You’ll learn a great deal about basic typewriter mechanisms and adjustments from it. (:
Oh! Thank you for this, Ted. Carlos will be delighted. I will message him the link on Type Pals. The adjustment seems much easier on this typer with the sliding adjustment. On the Royal FPE wide carriage I had, it basically sounded like a nightmare.
Yay, I knew you’d know! I believe you talked about this on another TCL meeting. Thanks for posting the supplemental adjusting instructions. I’m going to print it and add it to the JP-1 bible. P.S. That Charger 11 sure does make a nice looking print! I like mine too.
Now I have to get another Brother Charger 11! I gifted mine to my niece.
Very useful! Thank you.
Hey Reverend,
Long-time fan, first poster. This is supremely helpful. I am trying to address what is just a general lightness of imprint on my Olympia Socialite, and this site seems to make a case both that ring & cylinder are in play and that this would be the correct way to go about it on that machine. Do you concur re: which screws and how?
https://ber10thal.com/blog/repairing-a-1961-olympia-sf/
The machine is nearly flawless other than this issue, and I don’t want to mess something else up trying to get it all the way too 100%…such a familiar feeling…
I also love the Brother Charger 11–I gifted mine to my son and am always on the lookout for another!
Thanks for all your fine service to the community!
yep, that looks right, you’re moving the rails (and thus the platen) closer to the ring. Couldn’t say for sure, as I don’t have any SFs. (:
Great resource for the R&C and OF&M adjustments. Sadly, on my JP-1 (KMart re-badge) the Ring and Cylinder adjustment is bottomed out and the slugs still aren’t contacting the platen. I think I need to go with heat shrink tubing. Any tips for removing the platen? Does the carriage need to come off first? I’m pretty new to typewriters, so thanks in advance!
Taking off the carriage is a bad idea. very difficult to get back on – you’ll regret it. Remove the knobs and pull the center pole out and the platen comes right out.
Mine has a couple set screws at each end of the platen that secure the knobs in place. I had to remove the covers at both ends of the carriage to get full access, but with the knobs and end-covers removed, the platen came right out. Next is the heatshrink. Thank you!
This is very interesting. I have a version of this typewriter (Opus 888), but mine has 3 screws on the rail at each end. One is centered and doesn’t allow for forward or backward movement. It seems to make the other 2 pointless. Should I be removing the center Phillips head screw permanently in order to make this adjustment?
Photos:
https://photos.901g.com/mo/sharing/tEfjWif50
Well, if it’s different – there’s a reason, and you shouldn’t just remove stuff because you don’t know what it does. Find out what it does- what’s it attached to? Then re-assess given what you do know.
Thanks for taking the time to reply. I’m fully behind not removing things just because we don’t know what they do.
What I do know: The center screw (in pics above) attaches to the same plate that the 2 flat-head screws attach to in this post which are marked “Ring and Cylinder” in the photo and it doesn’t hold anything else in place. In your post’s photo there is a hole between those 2 screws. On my typewriter, that hole has a Phillips head screw and the hole has threads in the under plate.
I was hoping that someone here might have some knowledge of this. I was also hoping that maybe it was a factory “lock” screw that wasn’t needed. Either way, I’d rather be facing this problem and working on a typewriter than most anything else.
Thank you!
Hmmn, the fact that it’s phillips is suspicious. If it doesn’t attach anything else to the rails, it *might* be just someone sticking a screw in a hole when they found it in the case or something. The Opus is a higher-end model than the base Charger 11, so I might think it attaches something to the rail for the tabulator or something, but if that’s not the case, I dunno. Is it machine threaded or self-tapping? Self-tapping would be a dead giveaway that it’s not supposed to be there. Phillips wouldn’t be on a Japanese machine from the 60’s/70’s – but I understand there is a Japanese standard that looks like Phillips but is slightly different.
It is not self-tapping but it very well could be the Japanese JIS screw head. All 3 screws have some kind of glue or varnish over the top, which is on every screw in the machine I’ve found. It’s clear and hard to see if you aren’t paying attention. Would that make it more likely that it is from factory? I don’t recall them being connected to anything else, but I’ll double check. I just put the bottom back on, so I’ll have to do that later. Thanks again!
Yeah, if it’s laquered, it’s prolly factory. still, not something I’ve seen. I’m outta ideas. (:
No problem and thanks!
I’m about to cover my platen so wish me luck!