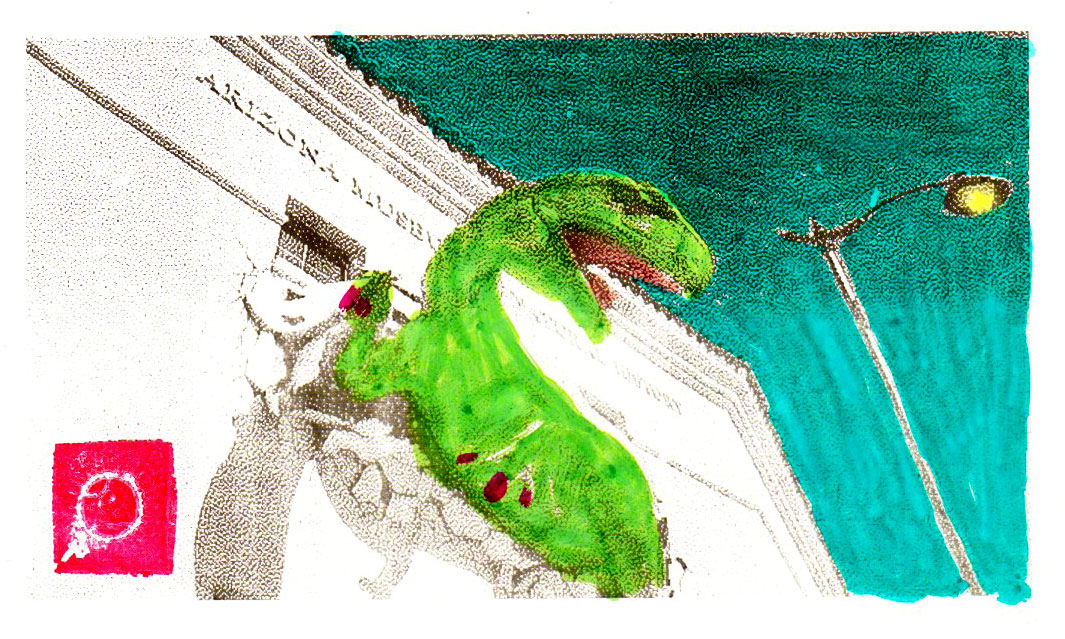
 I’ve been having a great deal of fun and utility from the silly little toy thermal camera that Gregory sent me this past year – it’s really amazing to be able to make illustrative and artsy photographs with Polaroid ease and negligible cost which I can paste into letters or a notebook or simply present to someone on the spot as a physical item. It’s one of the many things I can be thankful for on Thanksgiving! :D On this Thanksgiving, let’s remember the great-great-eleventy-billion-times great grandfather of the turkey on your table today – yeah, the saber-toothed magpie shown above, breaking out of a building. I note that this photo was taken on my Canon Powershot A710IS and printed on the thermal camera, so yeah – I figured out how to expand my options for cameras/optics I can use and still print thermally off of the toy camera. Curiouser & curiouser!
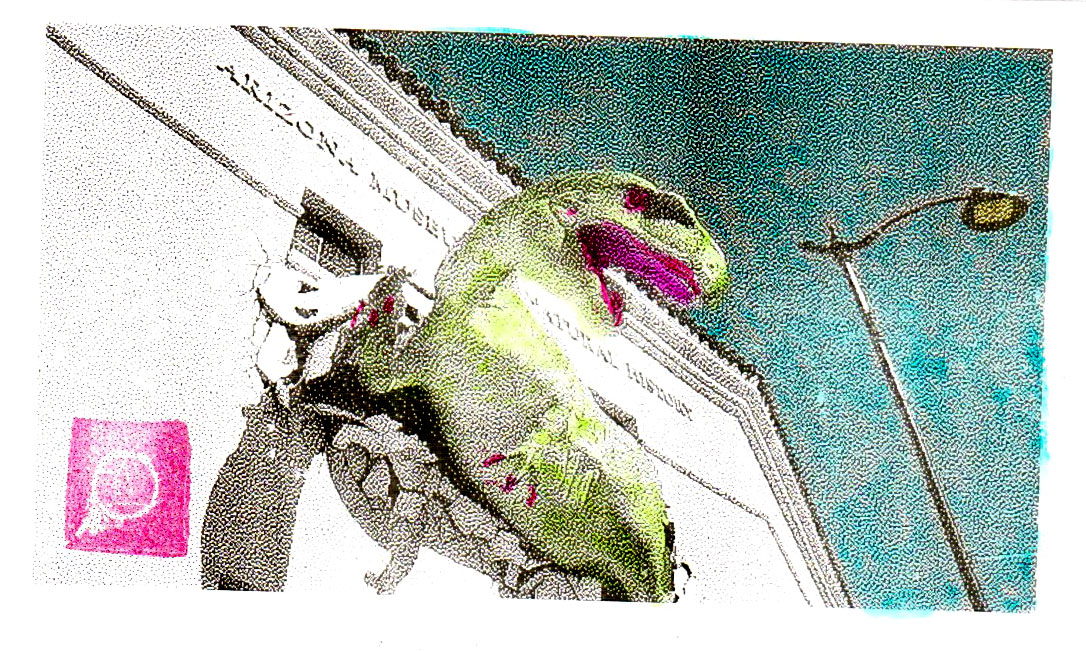 It occurred to me the other day that the thermal media I can shoot photos onto is not limited to the little rolls they sell for the camera which tend to be high-quality for good contrast thermal printing (excellent) but very high-gloss coated (water-resistance is a plus, but not great for coloring the print) and *extremely curly*. The surface coating makes it hard to use markers on. They pool, and you have to blot excess ink off and wait *hours* for it to dry.
 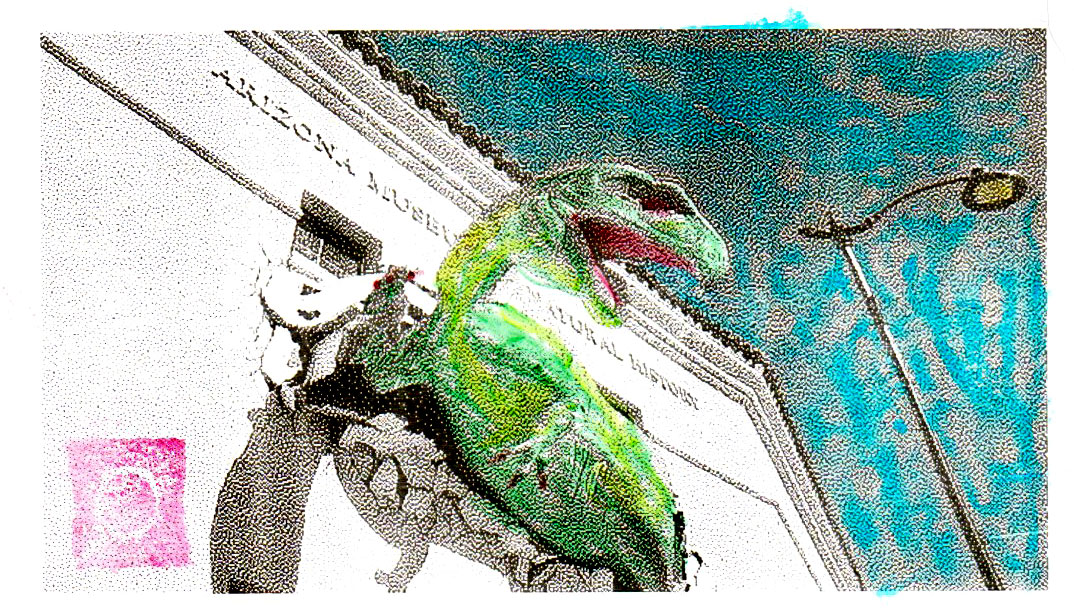 Again, though, I’m not actually limited to that media. Any thermal paper of the right width that can fit in the roll tray will work. How about a cut-down Goodwill receipt?
 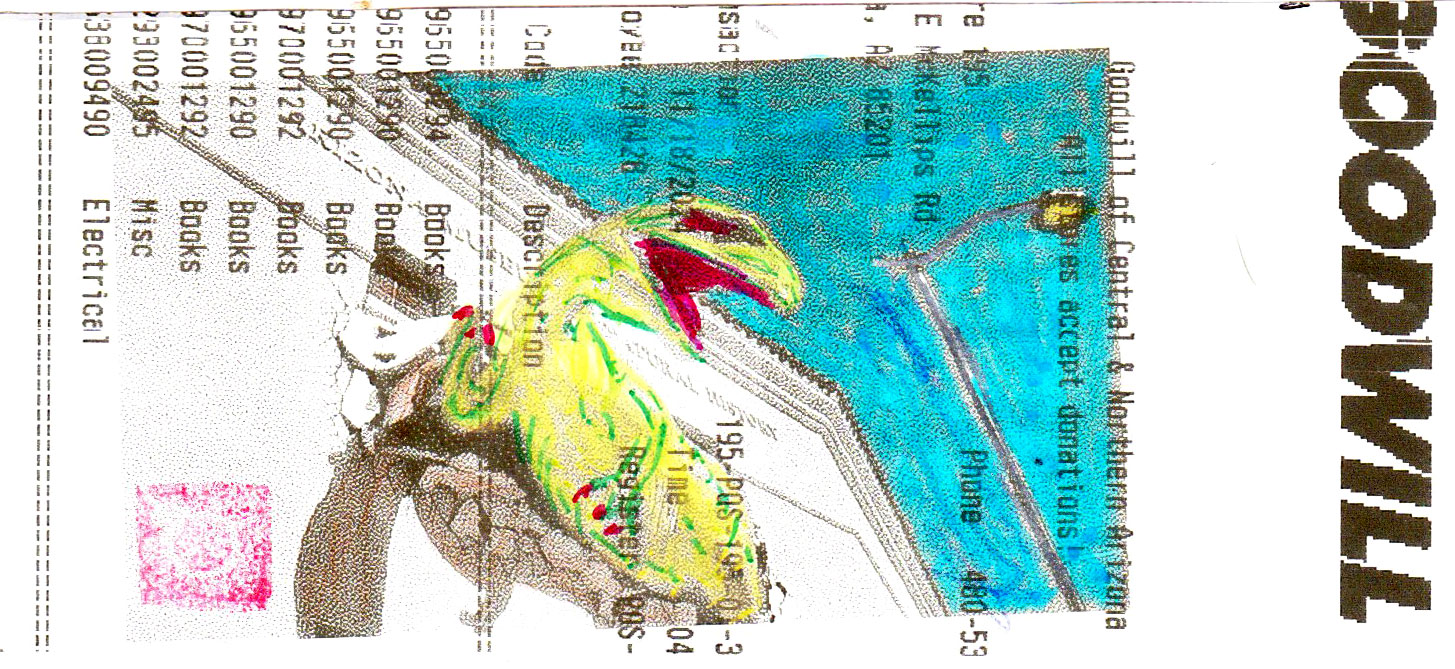 Hey, not bad! Prints the photo reasonably well and takes marker ink and colored pencils pretty nicely. Colored pencils don’t work at all on the glossy paper. How about typewriting? Cloth ribbon on Mothra on the glossy stuff..
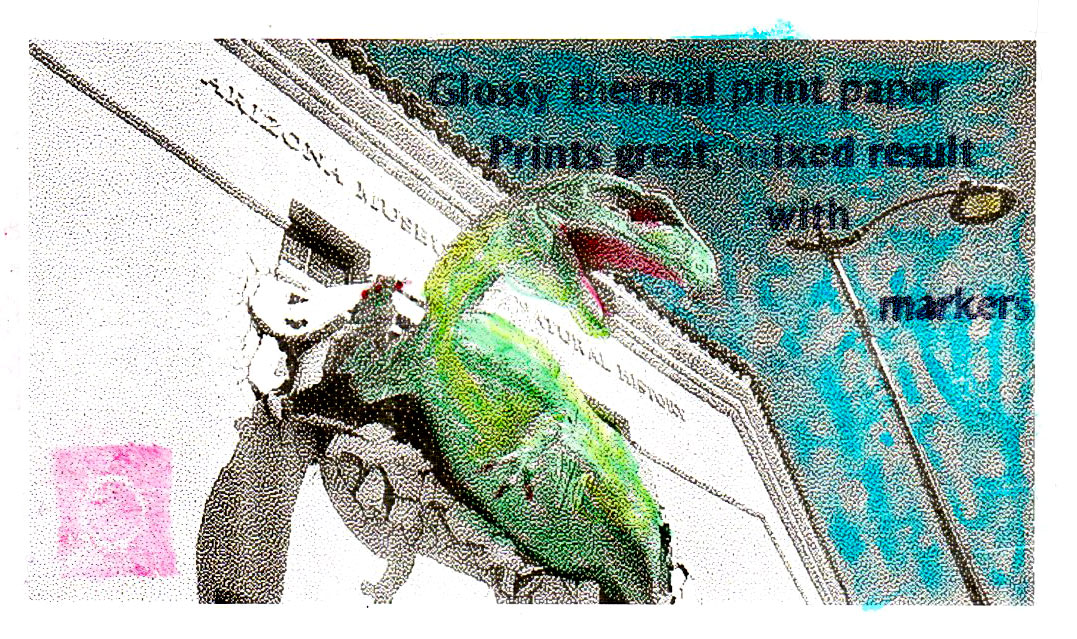
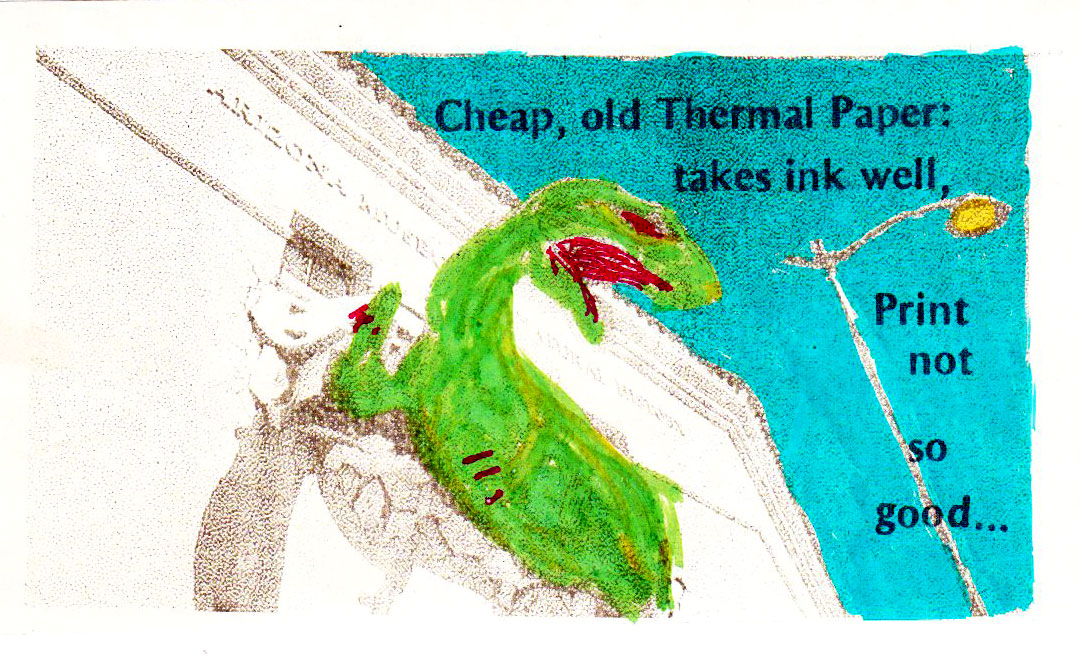 Well, the cheapest, oldest, been-sitting-out-exposed-on-a-shelf fax paper I have doesn’t print the photo well, but colors well, let’s try some better grade, fresher fax paper…
 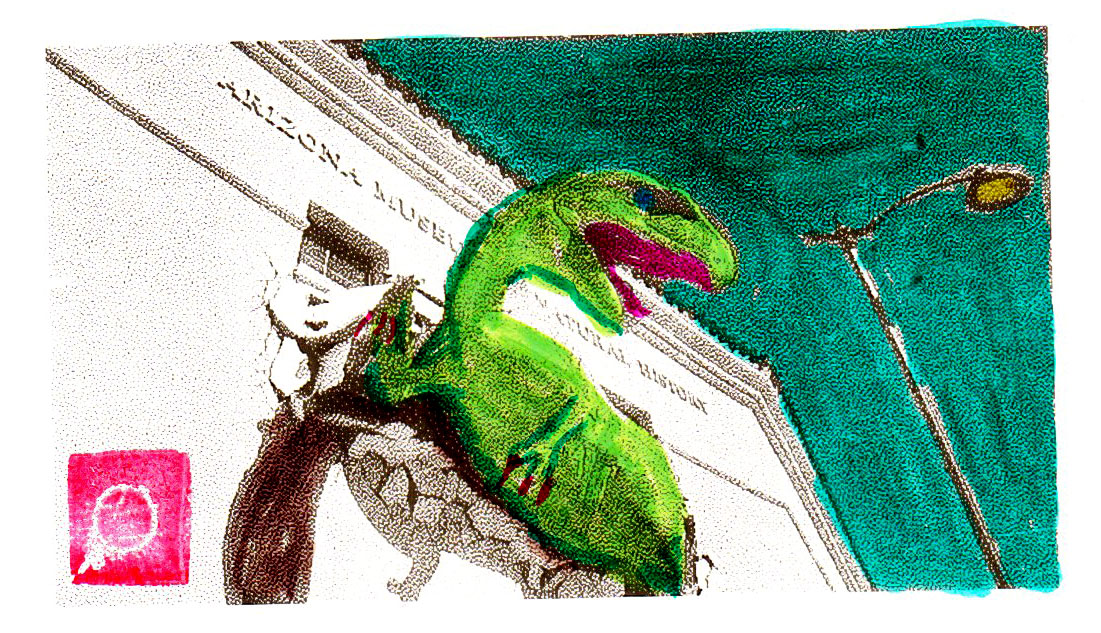 Eh, not bad, really takes the ink deeply. This paper is off a 4 1/2″ EKG roll, cut into 2 1/4″ strips, so 4 1/2 x 2 1/4″, and I just load them one at a time into the camera – that’s just long enough that the camera can grip it all the way through the printing process.Takes typewriting well, when you remember to reverse the ribbon. :D
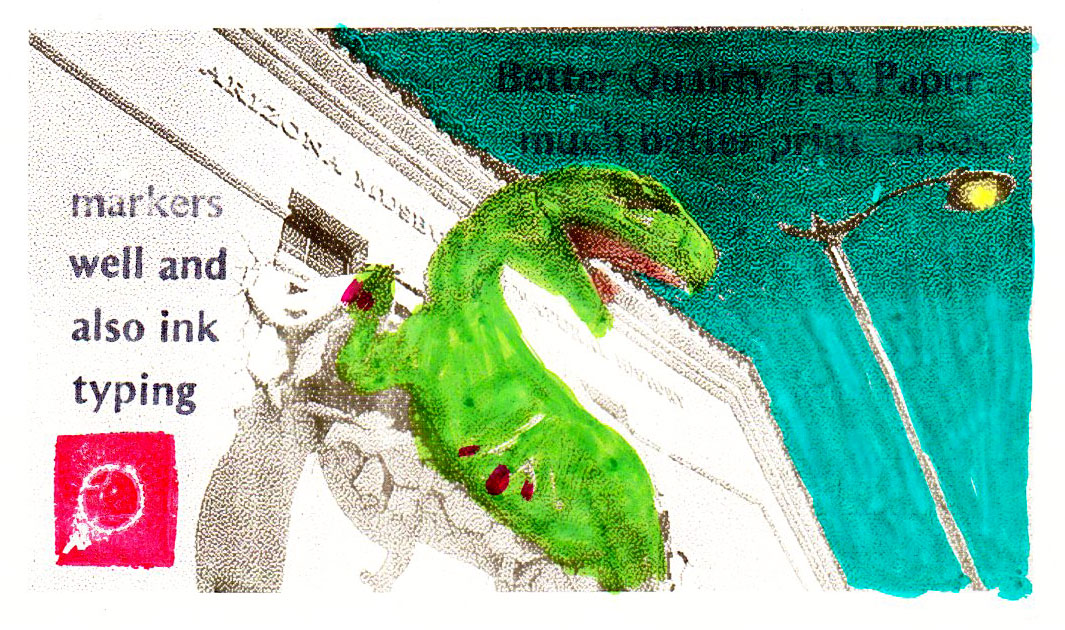 I’m pondering how I might be able to utilize thermal rolls that are the right *width* but come on cores and have more paper than the rolls that are intended for the camera. That makes them way too fat to fit in the camera’s paper loading bay, *buuuuut* there’s not really anything stopping you from cutting a slit in the door so you can feed in paper from a roll *external* from the camera, maybe fed from a 3-D printed box mounted underneath or something. Eh, ideas percolate…
Very fun! I’ve been meaning to ask you, how do you format the files from an external camera so the printer will recognize them?
Well, so far I know that the default format from the Powershot can just be renamed to the same naming format as the toy camera’s photos and added to the card for printing.I haven’t figured out why they work and anything that I modify, crop or do any processing to won’t work. Details as I test more.
You know, I read about stuff like this before.
In my collection, I have a hand-tinted tintype photograph of some guy, from sometime in the 1850’s; The photographer put on some sort of chemical to make his cheeks look rosy. This was quite a common practice back then, as the first true color picture wouldn’t be taken until 1861. Also, in the early days of motion pictures, there was a process called “Pathécolor”. Basically, a bunch of women would color in each frame of a 35mm print by hand with stencils. Some of the most popular films back then made use of this process, such as 1902’s “Le voyage dans la lune” (A Trip To The Moon).
On the glossy paper, who says you have to use markers to color it in? Why not try other mediums, like colored pencils, or watercolor paint? Better still, you could try & make a true color photo with tri-chrome photography & combine the prints in post!
Yeah, I need to find a blue filter – I have a red/green one. Tricolor is on my list of things to try, especially if I can successfully import photos from a DSLR.
I did try colored pencils, they don’t work well on most thermal papers I’ve tried. Thinking about trying watercolors and crayons when I actually have some. (:
Even without a blue filter, you can still get a decent color image. In the early days of color motion pictures, all the processes available could only capture 2 colors: Red, & a choice of either Green or Blue, sometimes blue-green. You wouldn’t be able to capture anything blue or purple, but the resulting image still wouldn’t look half-bad. Here’s what a 2-color image looks like:
https://youtu.be/8iy_MjegGWY
https://youtu.be/feYD2dPapk0
Getting a Blue filter still is a good idea, but it would work without one. I really need to get some actual filters myself! The old 3-D glasses & fancy business cards just aren’t cutting it…
I have tested a lot of different things on the thermal papers. The best markers are sharpies but some papers will black out or white out the images. Some thermal papers do okay with markers like Copic markers or Ohuhu or other art style markers. Watercolor tends to bead up like the water based markers that come with a lot of these cameras. Also gel pens work but take forever to dry.
The downside of sharpies is that they tend to fade pretty quickly.
I did a bunch of videos about these cameras and colorizing the prints last year. My youtube channel is under the same name as my blog.
Oh hey, I recently saw your video on your thermal camera/printer collection a few days ago! (: Checking out the other ones now – clearly I need more art supplies, as I have neither colored sharpies or watercolors. :D
My collection has expanded since that video. sigh. The cameras I do have the excuse of using them for work (afterschool program with teens) so I have that excuse. LOL Really loving seeing other people diving deep on these as an art medium!